Solar panels aren’t just for homes or businesses. They are, in fact, a great source of power for people who consume electricity on the go. A solar panel system can be a budget-friendly, eco-friendly, and practical method if you frequently camp and travel in an RV. Curious how to hook up solar panels to RV Curious how to hook up solar panels to RV batteries? We’ve got the answers for you, below.
Solar panel systems offer a steady electricity supply when the sun shines, and require little maintenance. They absorb energy from the sun, and convert it into electricity. Wires then deliver electrical current to a charge controller, which regulates current flowing through the battery.
Even if you already have a generator, solar panels are the most environmentally friendly and sound alternative for powering your RV. They enable you to set up camp anywhere without need for a power supply. If you’re interested in getting solar panels for your RV, this article will show you how to get setup.
The Basics of RV Solar Panel Systems
Knowing the basics of RV solar panel systems will make connecting solar panels to RV batteries easier. This will provide you with an understanding of how to connect the panels to your RV battery properly and fully enjoy your RV experience.
RV solar systems generally have four distinct sections:
- Generation: It’s the solar panels. They absorb solar energy and produce electricity.
- Charge control: It’s the solar charge regulator or controller. It uses the solar panels’ output to recharge the batteries. Its main job is to make sure the batteries are adequately charged, making sure they are never overcharged.
- Storage: It’s like the battery where the energy converted into electricity is stored.
- Inversion: Its function is to convert the power into the correct voltage. Typically, the inverter output will be immediately hooked into the circuit for the RV outlet socket. Most inverters usually feature a few auxiliary outputs. If you require more outlet capacity

How to Hook up Solar Panels to RV Batteries
Solar panels and RV batteries can be linked together easily. If you link up your panels and RV properly, you virtually guarantee a reliable and secure energy supply for your RV.
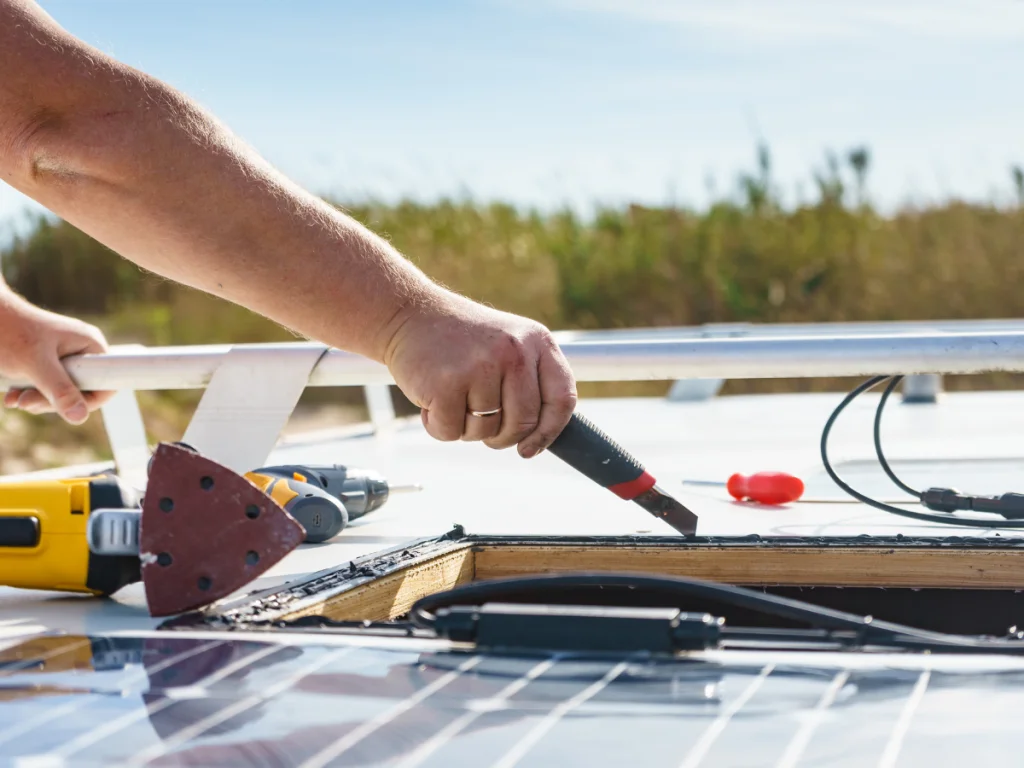
Install Solar Panels
Solar panels for an RV can be installed in two different methods. If you use a portable kit, you may set them up on the ground whenever you park. Alternatively, you can place panels on the RV’s roof to produce constant electricity.
Before installing solar panels, consider the position and angle of the solar panels. Solar panels in the United States should face south to produce the most electricity. Your latitude, based on where you live, may change the exact angle you need for your panels.
Connect Charge Controller to the RV Battery
A charge controller is required when a battery is present in your solar panel system. Its job is to safeguard the battery from charge and discharge, overcharging, and from high voltage from the panels. Look to the holes where your plumbing enters the RV. If those holes are close to your batteries, you can run your wiring through one of these to avoid creating additional holes.
From there, connect the positive and negative battery cables to the appropriate battery terminals on your solar charge controller. The red (positive) wire goes into the positive port. Then, the green (negative) wire goes into the negative port of the charge controller. It’s always best to follow the instructions for your specific charge controller model.
Connect Charge Controller to the Solar Panels
Once the charge controller is hooked to your RV battery, connect your solar panels and charge controller. To complete this task, you’ll need the following two wires:
- Male connector: The positive cable
- Female connector: The negative cable
From here, add a set of connectors with wires on each end to connect your charge controller to the solar panels. In the event of a fault, this connector will protect your electrical system.
Attach the wires from your charge controller to your battery bank or inverter. Plug the cables from the solar panels into the charge controller and screw them in tightly. According to the manufacturer’s recommendations for your RV, you should then connect to your solar panel before the battery bank or inverter.
In all cases, be sure to stick to the RV manufacturer’s guidelines.
Additional note: If you’re using an inverter, install it near your batteries and out of the path of heat, corrosive battery fumes, and other potentially harmful substances. Observe the guidelines provided with your inverter.
Test the System
After setup is complete, test the RV’s solar power. If you follow the guidelines and manufacturer’s instructions, you should be all set witha dependable and secure power source .
Start Your Solar Panel Journey With Atlasta Solar
Even though there are instructions for installing solar panels and connecting them to RV batteries, the process can seem overwhelming. Oftentimes, it’s best to have your solar system supplied and installed by a reputable and trusted solar panel supplier. Atlasta Solar Center is Western Colorado’s top-ranked Solar Energy Solution.
In our 40 years of industry experience, we have identified the best suppliers, developed cutting-edge products, and built a very dependable service for residential, commercial, and RV solar panels.
With Atlasta Solar Center’s specialists that utilize the most recent information and methods, you will have the peace of mind that your RV won’t leak after installation and guarantee that you will have a reliable and secured source of power for your RV. Take your RV journey to the next level, and contact us today!